Showing posts with label beaded. Show all posts

Monday, July 21, 2014

The latest ornament plus visions of future ornaments

Have started on the ornaments for this year's exchanges.  Making the teardrop dangles currently, then will start the actual construction of the individual ornaments.  Will make at least 12 of these, then I'll start on the individual ornaments.  Have a few 'special' ornaments to make such as an Irish flag version; plus several rainbow; a black seed bead, pearl accent & teardrops, and gold version; and several non-beaded ornaments.


I used this ornament as the 2nd Quarter Exchange and liked it so much that for the Annual Ornament Exchanges I am making extra.  It is different enough from last year's ornament design that I thought about using it for many of the people I give to at Christmas. 

Monday, April 28, 2014

Been a while

It has been some time since I last posted.  During the time away, I took a class on How to run a small arts/crafts business through one of the local colleges on-line.  I have made several miniature ornaments (but haven't gotten any of them photographed).  Hoping to get back into the rhythm this week now the class is almost over.


Thinking of one of these as this year's Exchange Ornament.  Have 24 of each color (plus 4 other colors).  The finial onion shaped ornaments are blown-glass.  I picked them up seven or eight years ago in an After Christmas mark down sale.  I may decide to assign the white to one group and the red to the other group and that way if I have any duplicates between the group, I won't have to quickly make any additional ornaments.


I can also make extra to have in my car in case I get caught without a needed gift, I can raid the gift/ornament stash.  Luckily, I had several in my trunk last year, as I had been invited to Christmas dinner (no one told me until an hour before hand) and needed 2 gifts.

Have been already making my lists for ornaments.  Have one person who will receive a set of Teenage Mutant Ninja Turtle ornaments, another who I will make a set of Minion ornaments, have several Alabama, Georgia, Duke and UNC (Carolina) ornaments which need to be made.

Monday, February 3, 2014

Ornaments #2 and #3 for 2014

I had the 'spike' ornaments for several years.  I have them in red, green, blue and purple.  Wanted to carry the swag motif from the miniature ornaments to the entire ornament.


This is the ornament that I am giving an internet friend for his birthday, February 5th.  It will be going into the post this afternoon.  He likes the black/white/gold color combination and most (if not all) ornaments he has received from me are in this combo.


Currently working on the above but using white opal instead of opaque black.  Have one finished and half way through a second.  The white will be for the 1st Quarter ornament exchange at ChristmasOnramentCrafters under the YAHOO! groups.

Tuesday, June 25, 2013

Earrings or Ornaments?

When looking for ornaments to go on a tree, I had created ornaments which have been inspired by jewelry.  There are times when I have purchased pieces of jewelry to use as ornaments.  A crystal necklace can be used as a swag between branches, or ‘floating’ pearl necklaces linked together with chain can create a garland.  More than once I have used large shiny, dangly earrings as ornaments.  The miniature tree can easily be decorated with earrings, especially these with french-hooks instead of posts or clip-ons.

When I belonged to a group where miniature ornaments would be exchanged, many months I fell back on my years of making costume jewelry and made ornaments which could easily be worn as earrings if you had a pair and a couple of french-hook style ear wires.


 Some are made from an earring base such as these larger  ornaments.  Using Delicas® as spacer beads, I was able to fill the space between the chain lengths and the faceted glass beads.  With the wide variety of glass colors, the combinations were almost endless.

The drawback to these being earrings are the weight.  These ornaments were easily 2 to 3 ounces, which most people think is very little weight until they are hung from a single thin wire and have a tendency to swing when you walk and smack your head when you turn your too quickly.


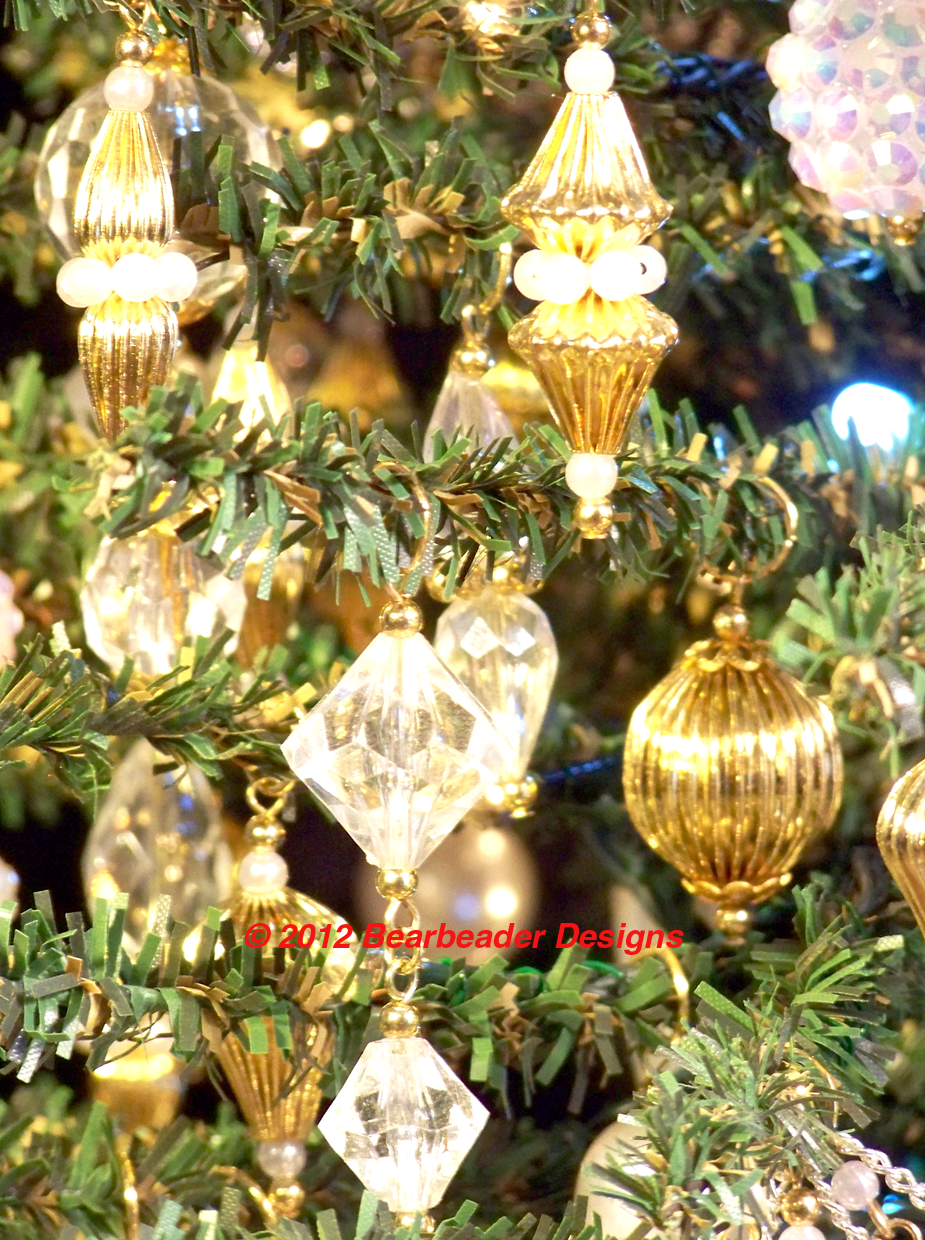
Others are made from a mixture of bead caps and earring findings.  This group of 5 are all under 2.5" in height.  And are limited only to the colors of the accent beads or the finish of the findings themselves.


Thursday, May 30, 2013

"Everyone Deserves a Christmas Tree" or "My Trip Down the Minature Rabbit Hole"

After Thanksgiving several years ago, I was eating at one of my favorite local restaurants in Greensboro, NC, I asked the waiter if he had his tree up yet.  He told me that he did not, and that most likely he wouldn’t due to space and the time putting up and then having to take down the tree.  As I drove home, I was bothered and I kept on thinking ‘Everyone deserves a Christmas tree.’

Over the next few days I decided I would make a miniature tree for him, fully lit and decorated so all he had to do was plug the tree in.  I found a 24 inch tree at one of the local craft stores.  The tree have ‘needles’ about 0.50" long and about 50 branches.  I found several packs of battery powered ‘rice’ lights, along with a 35 bulb strand of LED lights, and I started to work.

I took the wrapping from around the bottom and secured the tree base to a 12x12x0.625" piece of plastic cutting board.  Fluffing the tree branches out to give an appearance of a ‘natural’ tree, I started securing the lights to the branches with small pieces of 26 gauge floral wire.  Just like larger trees, it is best to have the lights on when doing this.  The LED lights were a ‘cool white’ with a bluish tint and very bright, so I positioned them along the trunk of the tree.  With the long ‘needles’ and fluffed branches a gentle cool glow would be emitted from the center of the tree.  Next I positioned the battery-powered ‘rice’ lights.  Dividing the tree into quarters, I strung the lights along the branches, wiring them into place, one bulb per branch near the tip.  Each pack of ‘rice’ lights had 20 bulbs so I had a few left over when I reached the longer, lower branches.  The ‘rice’ lights gave off a ‘warm white’ light.


After the tree was lit, I started the ornaments.  I had decided when I started I would want the ornaments to be ‘in scale’ with the tree, so for a 2-foot tree the scale would be 1:4 if most trees are around 8-foot.  Most globes on trees are between 65mm to 80mm (2.5" to 3.25"), so the globe ornaments would need to be between 15mm to 20mm and any ‘fancy’ ornaments no larger than 2" in length.  Many of the ornaments were simple beads on head pins with bead caps and 3mm metal beads on beginning and ending the assembly.  A simple loop at the end and the ornament was done. 


Many of the ‘fancy’ ornaments were created in similar fashion except many did not have the bead caps.  Teardrop glass beads, graduated faceted beads as well as druks (smooth beads) were used to create miniature ornaments to be utilized in filling out the tree.


When I was at the wholesale show earlier that year, I had bought several dozen pair of earrings.  Since I get much of my inspiration from jewelry, I decided to use the dangle earrings as ornaments.


Because of the long needles, I needed the ornaments to be lower than the needles to swing freely.  To remedy this I used small pieces of chain to suspend the ornaments, freeing them from the needles and used ring sized Memory Wire as ornament hooks.

After putting the tree topper on the tree, the total height was 30 inches.  Knowing I didn’t want to have to take the ornaments off the tree to box everything up, I made a box around the tree.  “Gator Foam” are sheets of PVC, and having ‘dumpster dived’ at a friends plastic company I had plenty of scrap, some as large as I needed.  Using Duct tape, I was able to construct a container which could be lifted off over the tree.  I wrapped a piece of the PVC to act as the bottom of the box and using double-sided carpet tape I secured the tree base to the piece of PVC.  I wrapped the rest of the box, made a bow and carefully placed the present in my car for delivery.

With the help of the manager of the restaurant, I was able to turn on the battery powered lights, put the top of the box over the tree and sneak into the restaurant and placed the tree on the waiter’s open table.  When he started lifting the top off, the light started spilling from the gap.  The restaurant was rather dark and the light drew everyone’s attention.  From several tables I heard “oooh”s and “aaaah”s and the waiter was speechless.  When he regained his composer he asked me why I did it, and I simple told him “Everyone deserves a Christmas tree.”  We took the tree over to the bar and plugged in the LED lights and I went back to the table to have a very good meal.  Many of the customers and employees at the restaurant wanted to know where I had bought the tree.  When I told them I had made most of the ornaments, several asked if I could make one for them and how much would I charge them.  Having no idea how much I spent in time and materials, I declined to name a price.

Since then, I have continued to give him a set of new ornaments for the tree each year.  This year I will most likely have to give him a new tree, as all the ornaments are getting very crowded on one tree.  He has told me, he still has the box I made, and keeps the tree inside until November 1st when he pulls out “his” tree and it sat on either the coffee table or dining table.  He will keep the tree out until January 1st when he turns off the lights, puts the box back over the tree and places it back into storage.

Last year, I made two additional miniature trees, one for charity the other for a co-workers wife, and both were well received.  The tree I used (and will continue to use as long as I can) have shorter ‘needles’ with more branches and concrete bases.  To widen the base, I use pint take-out soup containers and fill the base with gluing compound until it covers the base.  Continuing to use a mixture of AC and DC powered lights, I will attach lights with pieces of floral wire.  I have found 50-light strands of AC powered ‘rice’ lights and I will put 4 packs of the 20-light strands of DC-powered lights.  Using the same techniques as before, I make miniature ornaments for the tree.  The trees last year had 130 lights and over 180 miniature ornaments.


Sunday, May 26, 2013

More ornaments

Here are images of some other ornaments I have done over the years.  The pearl twist was done back in the late 1990s.  I made this one for an Ornament Exchange on MiningCompany.com (now moved to the Yahoo group: YearlyOrnamentExchange).  I have thought about making another set of these since they are fairly easy. 

I used an aluminum welding wire as the thread and threaded graduated pearls, starting with the largest 18mm pearls.  Thread both ends of wire through the hole and pull until most of the wire is through. Insert a pair of needle nose pliers into the loop and pull tight to form the loop.  Take one of the wire and bend at a 90 degree angle to form the hanger.  On the other wire, thread the remaining pearls in sets of three until you thread 3 - 4mm.  Bend the wire into an arc, and using wire flush cutters, cut leaving about 3/8 of an inch.  Using loop pliers (or needle nose), create another loop to hold the pearls secure as well as a place to secure a pearl teardrop.  Attach a pearl teardrop at other loop.  To Create Hanger: Straighten curl from wire, then make a bend to off set the ornament.  Create another loop and some chain to suspend from tree.


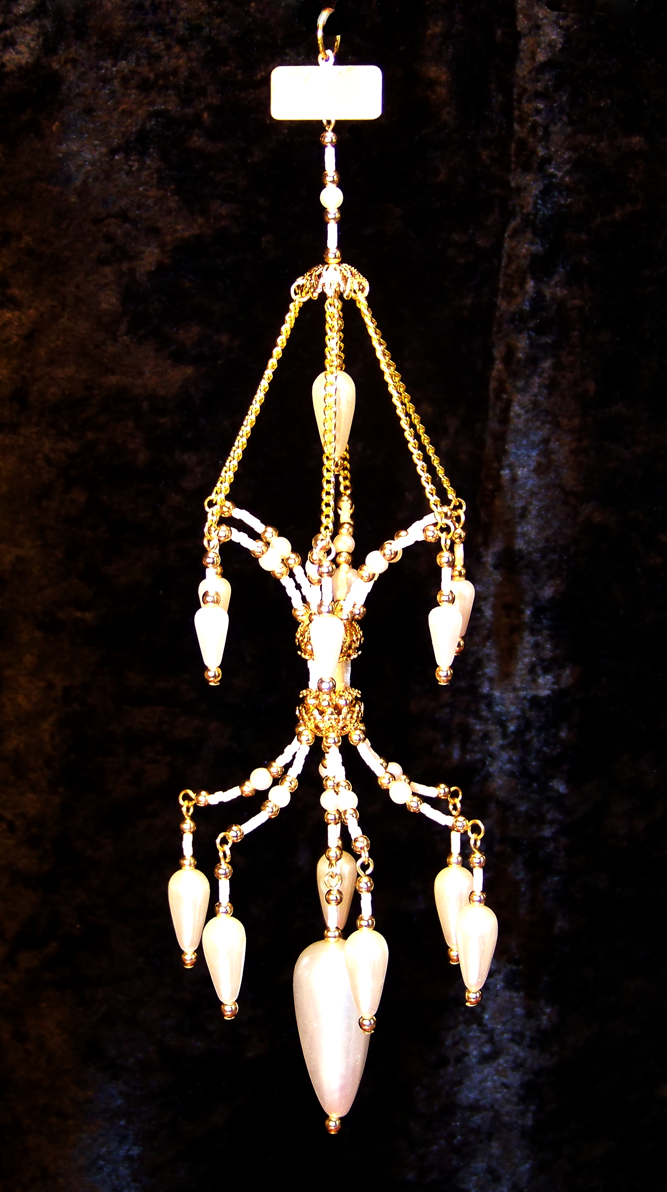
Another ornament which I created for an ornament exchange is the “fuzzy chandelier”.  The theme for this exchange was “Fuzzy” and this is the ornament created back in 2009.  I decided to add some additional embellishments with swags of gold chain and beaded dangles.

The last ornaments are all out beaded.  Back in the late 1990s, I placed an order for some beading materials and the telephone operator asked if I would be interested in hearing about their specials, of course I said “Yes”.  One of the special were perforated disks, I bought a couple packages not knowing what I would do with them but figured I would think of something.  I ended up using them in these tassels.  Each perforated disk has 91 holes.  I used several different lengths of needles to make the fringe in ring the same length.  I would do the bottom disk with fringe and then bead the top disk with loops of beads.  After completing the two disk I would sew them together and then create the beaded hangers for them.  These could be made in a wide variety of color combinations.

The first tassel was made as a Christmas present for my adopted brother.  The beads were pre-WWI Czech with gold-line square holes with an Aurora Borealis (or AB) finish.  When finished the ornament looked like solid champagne.  


The gold and green tassel was the first ornament I ever sold.  The price was $75.  My mother saw the price tag I had on it and she told me no one would pay that much for a Christmas ornament.  I hadn’t even finished setting up my vending table and someone purchased it.  They didn’t bat an eye at the cost.

Saturday, May 18, 2013

An Introduction

An introduction should be in order.  I started making Christmas ornaments in 1976 as part of art class my sophomore year.  For the following 3 years, the teacher continued to have the class make ornaments between Thanksgiving and Winter Holiday Break.  It stuck.  Christmas ornaments is my primary hobby but has expanded in both techniques and media.  Now I also work in Jewelry as well as expanded to work from miniature to large installations.  I have worked in fibre, wood, stained glass, acrylic plastic, glass, lapidary, and metal work, but seem to return to beadwork as the nexus for my creativity.  Once a week I will be posting images of work I have done, as well as new projects.  Last year I did 2 miniature trees:  Starting with 2-foot table top trees, I went through and added 130+ mini lights to the tree and then proceeded to make garland and ornaments scaled to the tree.  The largest ornament was 2.5 inches tall, the smallest being 6 mm.  When finished each tree had over 180 ornaments.  This year, I will be learning to make feather trees in the German tradition.  While making the feather trees, I will continue to make ornaments.